The importance of home office organization
Building an efficient and serene home workspace has never been more important. With the rise of work from home and lenient PTO policies, employees are seeking out ways to create more enjoyable home offices. After all, for many of us, our offices have now become a central part of our daily lives. In this article, we will share step by step tips to create a productive and organized office. We will explore how organizing your home office can transform your workday and provide tactical steps so you can be on your way to creating a home office that not only enhances your productivity but boosts your mood too.

It makes sense why an organized workspace would significantly enhance productivity and efficiency. When everything has a place, and you know exactly where to find the tools and documents you need, you spend less time searching for items and more time focusing on your work. This in turn translates into better time management, helping you stay on track and meet deadlines without the stress.
On a deeper level, a clutter-free environment could also lead to improvements in mental health. Many studies have shown that the presence of physical clutter can negatively impact your psyche, leading to increased stress, anxiety, and difficulty concentrating. An organized space on the flop side exudes a sense of calmness, making you feel like you’re more in control and equipped to tackle your tasks of the day.
Tactical steps and tips to create a productive and organized office
Step 1: Declutter and purge
Before you get into the organization part, you first need to evaluate everything you have and get rid of the extraneous stuff. Think of it like a painter and a canvas – you need a clean base before you can start creating your masterpiece.
Here are some strategies to help you tackle the clutter:
- Review Each Item Individually: Start by taking out every item in your office and reviewing it. Ask yourself how often you use it and if it really serves a purpose. If it’s something you use daily or even weekly, it probably deserves a place within easy reach. If not, consider whether it can be stored elsewhere or purged altogether.
- Sort and Categorize: As you review items, start to group them together in like categories such as work materials, office supplies, reference materials, or personal items. More on this in the next section.
- Get Rid of Duplicates: If you realize that you have multiples of the same item (like pens, notebooks, or staplers), pick your favorite and maybe one backup if necessary. The rest should be recycled or thrown away to create more space.
Step 2: Categorize your belongings
Once you have gone through all of your items and evaluated if you want to keep them or note, it’s now time to start categorizing them. This is a crucial part of the organization process. When every item has a category, it’s easier to locate them when you need them. Hello efficiency!
Here are some common categories and examples of what to include:
- Reminders: Sticky notes, to-do lists, and reminder note pads
- Office Tools: Scissors, staplers, hole punchers, tape, and glue.
- Work: Client papers, project notes, reports, and other work-specific docs
- Finances: Financial documents, unpaid bills, receipts, and any other budgeting tools
- Writing: Pens, highlighters, markers, and notebooks
- Mail: Incoming and outgoing mail, stamps, and envelopes
- Miscellaneous: Any other items that don’t fit into the above categories, but still have a place in your office. Think of this category as your organized junk drawer.
Step 3: Map out storage areas & spaces
Once you’ve decluttered and sorted, the next step is to evaluate your surrounding area and identify all the places you can store this stuff. Remember, we are going for a minimalist look surrounding the desk to balance out any clutter you may have on the desktop.
Here are some possible storage areas within your office or room:
- Drawers: Shallower drawers are ideal for small, frequently used items like pens, notepads, and sticky notes. Deeper drawers are great for storing more bulkier items such as printer paper, binders, and larger office supplies.
- Cabinets: Cabinets are great for storing items you don’t really use every day but you want in close proximity. Think reference books, archived or old paperwork, or office equipment that you rarely use.
- Desktop: It’s important to keep your desktop as clear as possible to avoid visual clutter. This is the first place people look when they walk into the room. Because of this, try to limit items to absolute essentials like your computer, a single notepad, and perhaps a small plant or picture. Consider using desktop organizers for things like pens and paper clips to keep them within reach but out of sight.
- Closets: If your office has a closet, use it to store your rarely used items or miscellaneous items don’t have a great home. The beauty of a closet is that you can close the door, so put less visually appealing items here. Also, if you are dealing with a small closet, consider installing shelves or using stackable boxes to maximize vertical space.
Step 4: Use smart tools to organize your items
Once you’ve purged, sorted, and identified the areas of your office where you want to store everything, it’s time to invest in tools and strategies to maintain the order.
- Labels: Labels are one of the greatest inventions. By adding a label to a folder, binder, or even drawer, you can quickly identify (or remember) what’s inside without having to open it and sift through it. We recommend investing in a label maker or getting simple adhesive labels from your local office supplies store.
- Binders and Folders: Binders and folders are a great choice if you are someone that has a lot of papers laying around. Use these to keep categories like work files, budgeting materials, and mail neatly separated. If you want to go one step further, consider using binder sections or dividers to organize by theme or project.
- Trays and Drawer Dividers: If you have large drawers or even shelves, consider investing in in-drawer trays or dividers. We prefer clear plastic to metal, because it is easy to see what lies within. If you’re using trays on open shelving, choose ones that are aesthetically pleasing and maintain a consistent look. This way, even though the trays are on display, they’ll blend seamlessly into your overall design, enhancing the space rather than cluttering it.
Step 5: Simplify the surrounding area
As mentioned earlier in this article, it’s really important to keep the surrounding area as minimal as possible to maintain a serene, clutter-free aesthetic
Here are some suggestions:
- Utilize Wall Space: Take advantage of wall space for functional items like shelves or pegboards. Floating shelves are also a great idea and can hold books or decorative items. If you choose to use pegboards, keep in mind that they will likely draw attention first, so ensure your documents and pins are neatly organized and visually appealing!
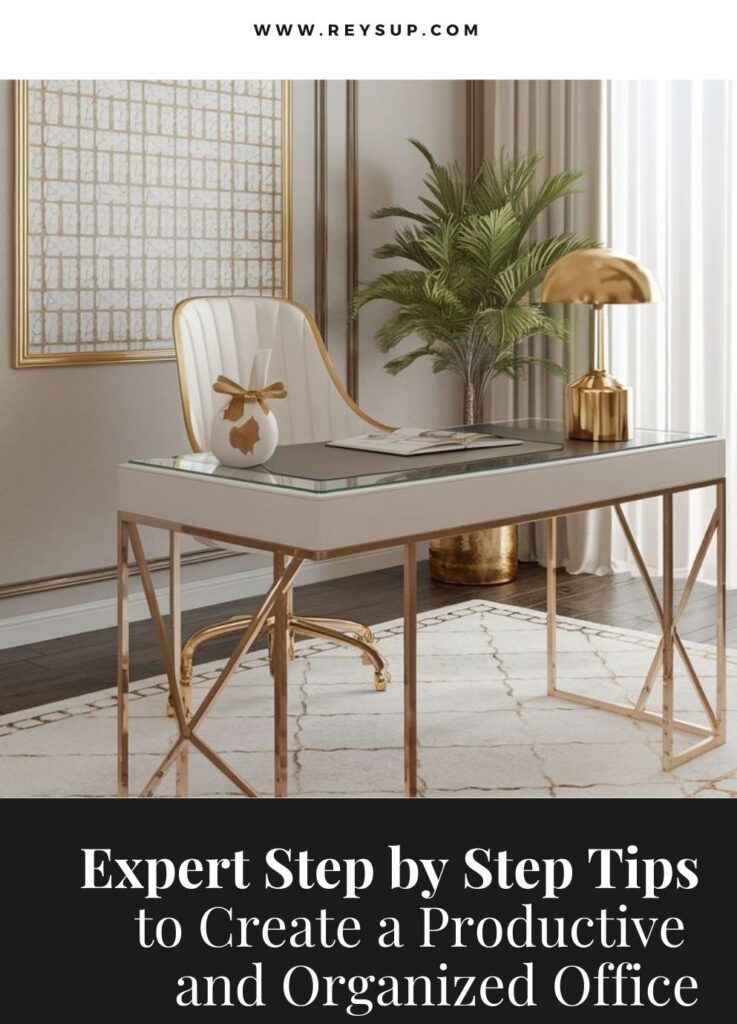
- Invest in Good Lighting: A well-lit office leads to more productivity and a better mood! Plus, it’s important that you can see when you do work 🙂 We recommend investing in a desk lamp with adjustable brightness to reduce eye strain at various points in the day, and consider soft ambient lighting for a relaxed overall atmosphere.
- Add Rugs: A rug can anchor the space and also add a ton of warmth. Opt for neutral colors or subtle patterns to avoid too much visual distraction. Also make sure to look for durable, easy-to-clean materials since this is likely a highly trafficked area in your home.
Step 6: Create habits to maintain organization
This goes without saying, but organization is definitely not a one-time task. It requires consistent upkeep and maintenance.
Here are a few habits to help maintain all of your hard work:
- Daily End of Day Tidy Up: Spend 5-10 minutes at the end of each work day tidying up your workspace. Put items back where they belong, file away any stray papers, and make sure your desktop is clean.
- Monthly Reset & Review: At the end of each month, take stalk of how items in your office have shifted and what organization systems are working or not working. Adjust based on your behaviors and take note where you need to improve.
- Monthly Purge: At the end of each month, also take time to do a quick purge of unnecessary items. Throw out dull pens or filled-up notebooks that you don’t need anymore. This helps prevent clutter from building up over time.
- Adopt a “One In, One Out” Policy: To prevent clutter from creeping back in, try to adopt a policy where, for every new item you bring into your office, you give up one.
A few final tactical steps to organize your home office
- Cord Management: Use cable ties or cord boxes to keep cords bundled together and out of sight. No one likes an office with crazy cord webs everywhere! Plus, having cords out and about could pose a danger to kids or pets.
- Consider Ergonomics: Consider investing in an ergonomic chair and adjustable desk to promote good posture and reduce strain on your body. Though these items tend to be a bit more expensive, they are usually worth the investment.
- Bring Personality In! While it’s important to minimize clutter, feel free to add a few personal touches like artwork, a plant, or framed photos. It’s important that the space doesn’t feel like a museum, and that it aligns with your personality and showcases things that genuinely make you happy.
In summary
When it comes to working from home, having an organized office is critical for productivity and mental sanity. By decluttering, categorizing, and implementing smart storage systems, you’ll be well on your way to creating a space that improves your work performance and overall mood. And remember – organization is not a one time thing. You need to develop good habits and maintain a minimalistic approach. We can’t wait to hear about what you design!
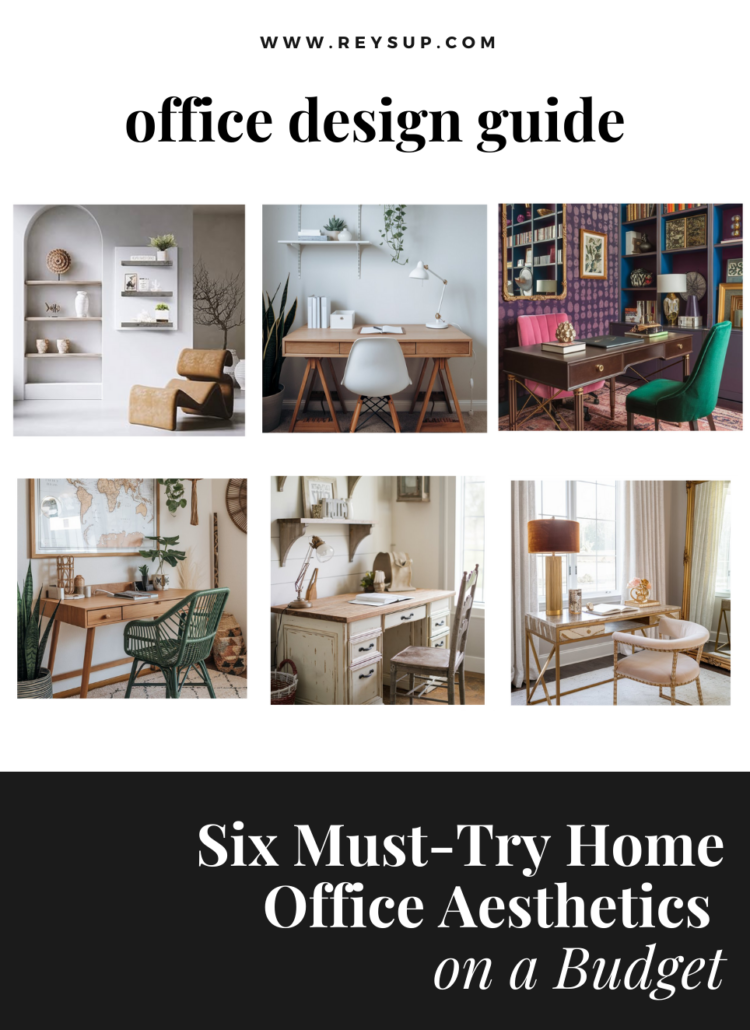
If you enjoyed this article, make sure to check out our other similar article where we share actual products you can buy to make your office look expensive for cheap!


